User Management
The User Management section allows administrators to oversee all user accounts within their tenant.
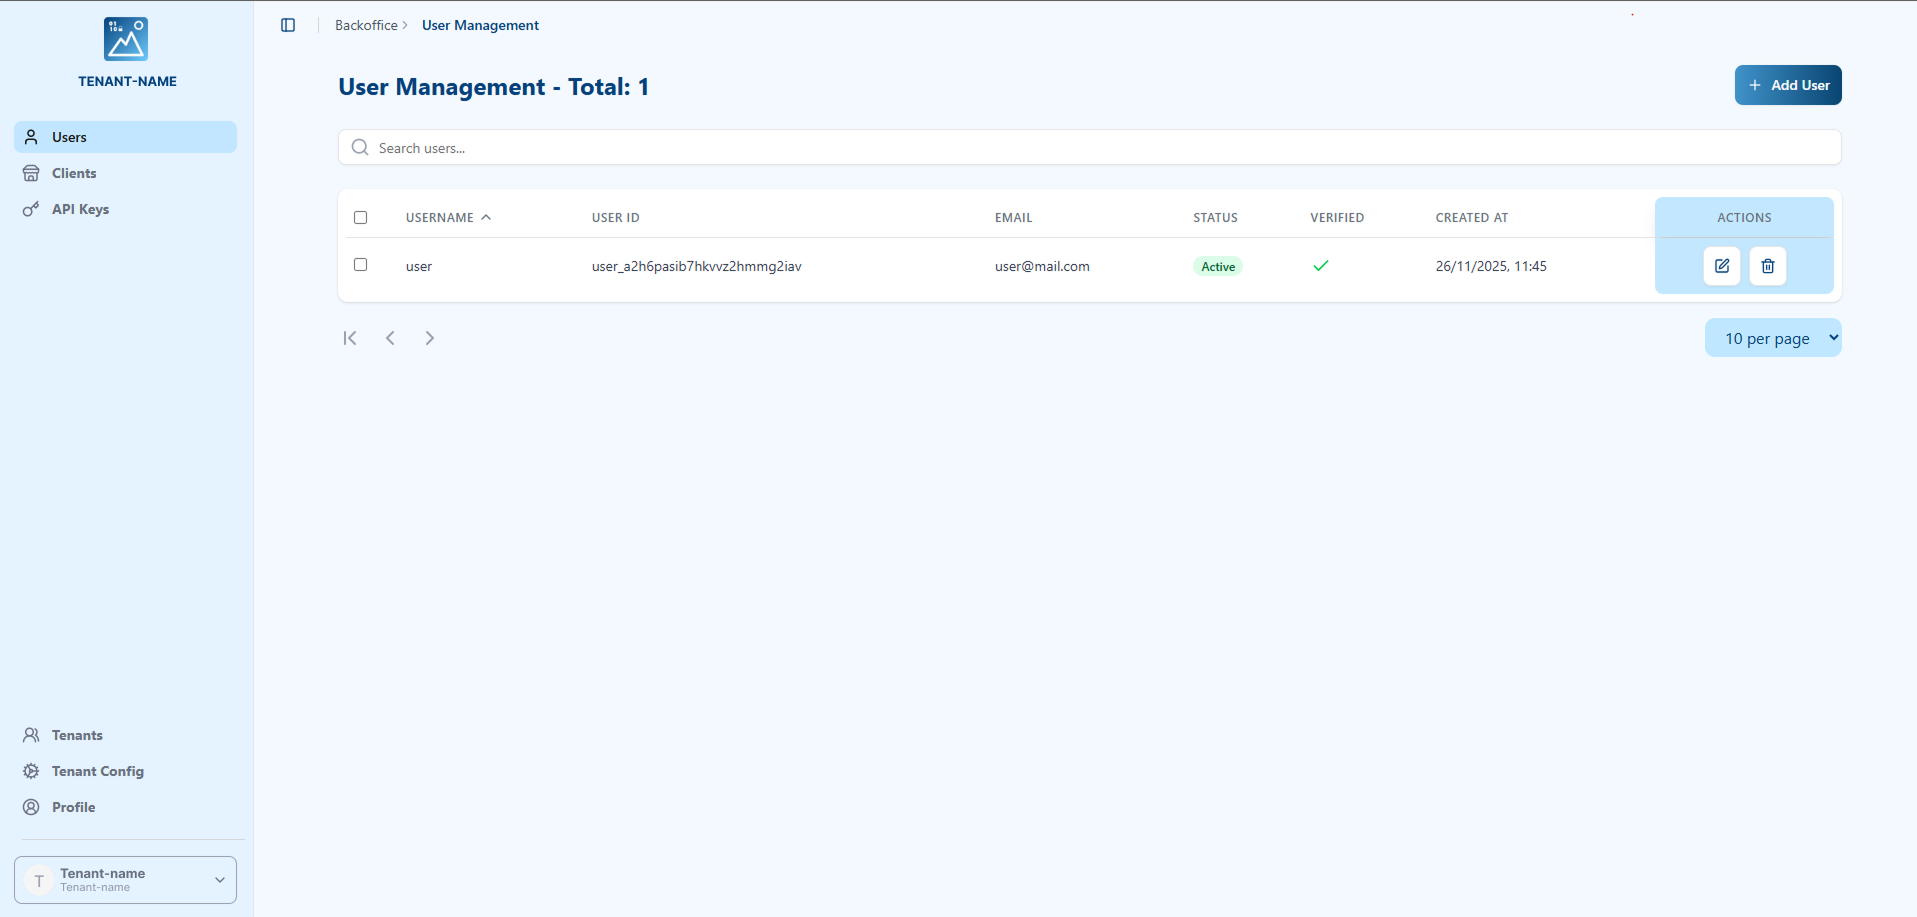
From this page, you can:
- View a list of all registered users.
- See key information for each user at a glance:
- Username: The user's unique identifier.
- User ID: The internal system ID for the user.
- Email: The user's registered email address.
- Status: The current status of the account (e.g., Active).
- Verified: Whether the user's email has been verified.
- Created At: The date and time the user account was created.
- Perform Actions on a user account, such as editing details or deleting the account.
Searching for Users
At the top of the User Management page, you'll find a search bar that allows you to quickly locate specific users. You can search by:
- Username: Enter the user's unique identifier.
- Email: Enter the user's email address.
The search results will be displayed in real-time as you type, making it easy to find the user you're looking for.
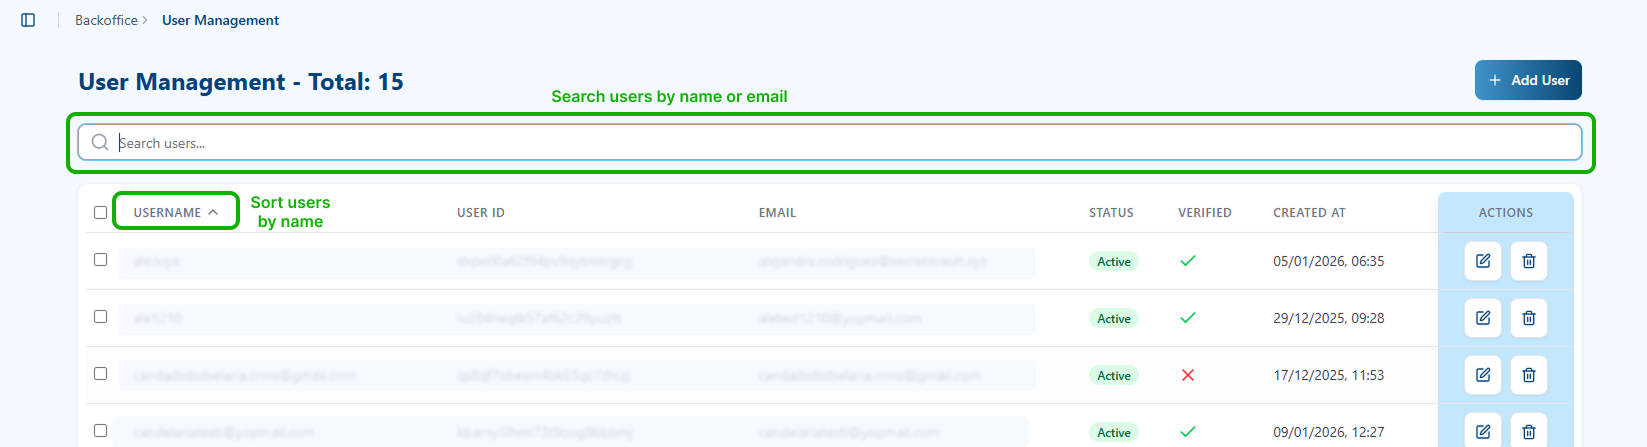
Sorting Users
You can sort the user list alphabetically by Username by clicking on the USERNAME column header. This will arrange all users in alphabetical order for easier navigation.
User Actions
Each user in the list has an Actions column on the right side with two main functions:

Edit User
Click the Edit button (pencil icon) to modify a user's details and settings. The Edit User dialog will open, allowing you to:
- Modify the Username
- Update the Email address
- Change the Status (Active/Inactive)
- Update the Verified status
- Reset the user's password credentials
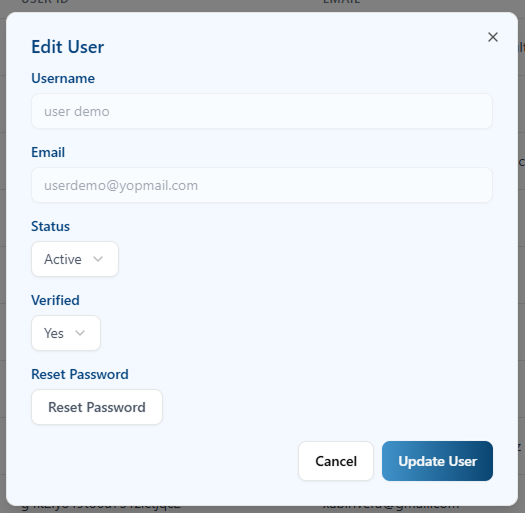
Password Reset: Within the Edit User menu, there is a Reset Password button. When clicked, this will send an email to the user containing instructions and a secure link to regenerate their credentials. The user will be able to set a new password through this process.
Delete User
Click the Delete button (trash icon) to remove a user from the system. A confirmation dialog will appear to prevent accidental deletions.
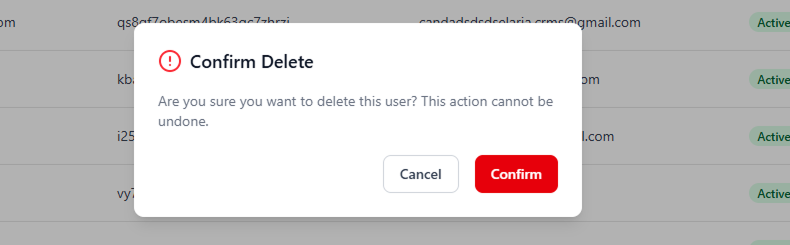
Once you confirm the deletion, the user account will be permanently removed from the tenant. This action cannot be undone.
Adding a New User
To add a new user to the tenant, click the + Add User button. This will open a form where you can provide the new user's details.
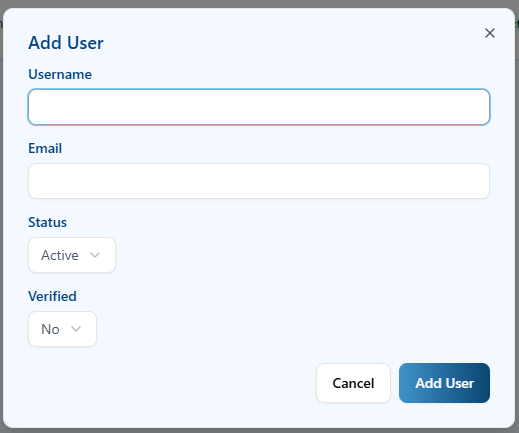
- Username: Enter a unique username for the new user.
- Email: Enter the user's email address.
- Status: Set the initial account status (e.g., Active).
- Verified: Set the email verification status.