Login
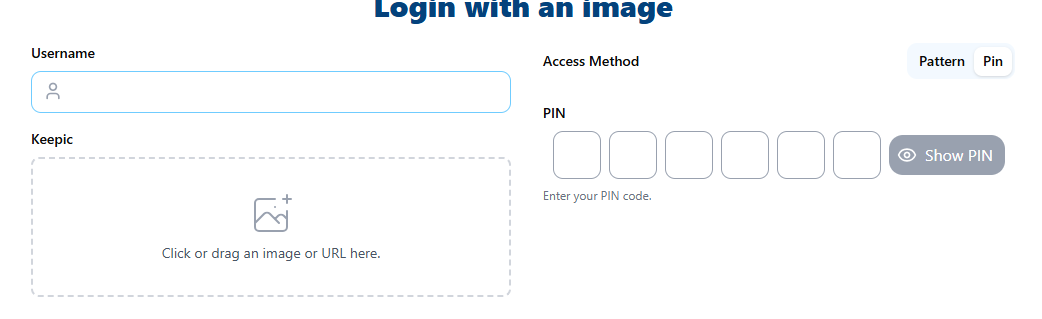
To log in, a user must provide their Secrets Vault Identity, which consists of three parts:
- Username: Your unique identifier within the Secrets Vault Identity system.
- Keepic (Image): Your chosen personal image. You can click to select an image or drag and drop it into the designated area.
- Access Method: You can choose between two secure options:
- PIN: A numeric PIN between 3 and 6 digits.
- Pattern: A custom pattern created by connecting at least 3 points on a grid (either 3×3 or 4×4) in your chosen direction and sequence.
PIN
Pattern
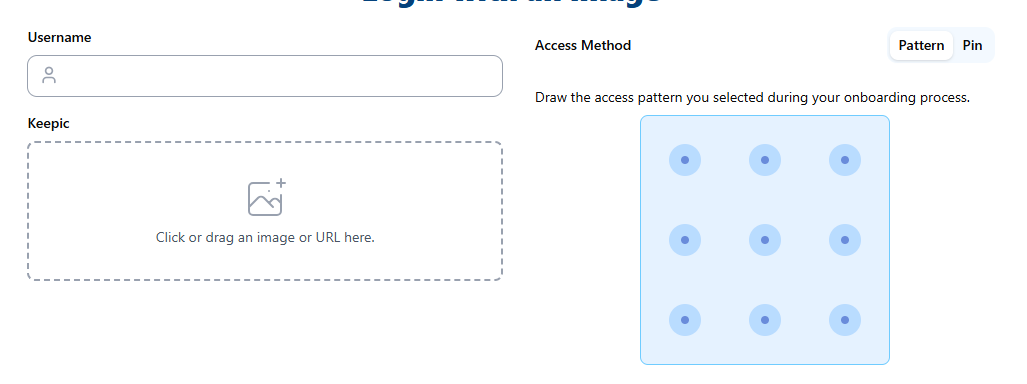
The visual authentication process involves the server sending a challenge to your client, which you solve by providing your image and PIN or Pattern.
Face Recognition authentication
In some tenants, authentication can also use face recognition.
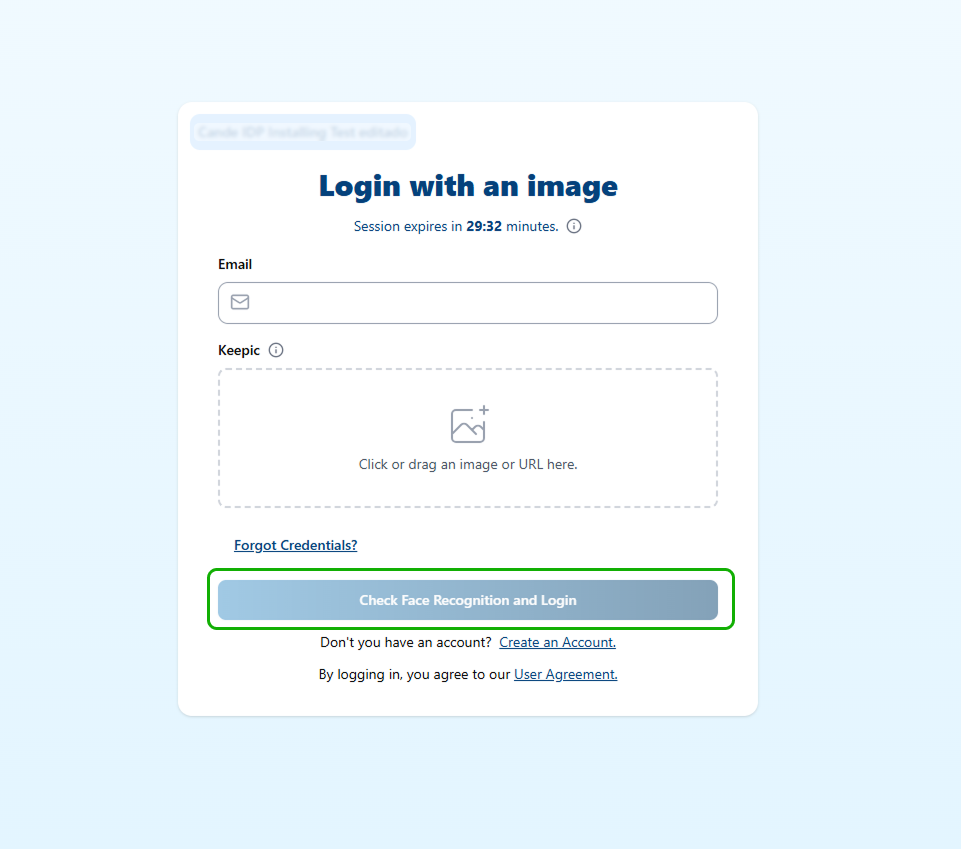
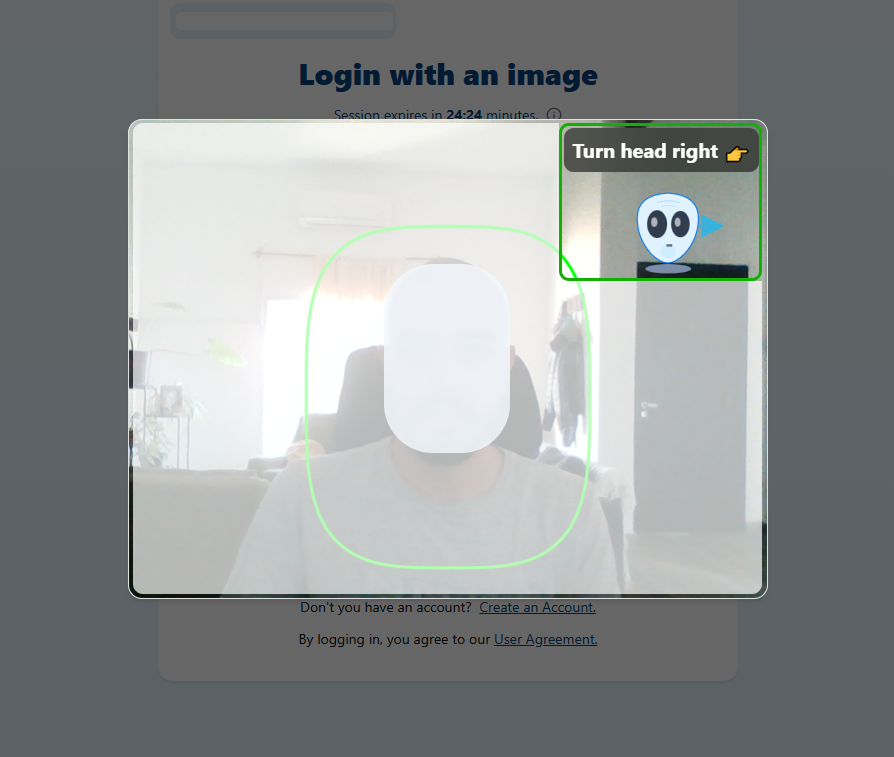
In this mode, the user uploads a Keepic that includes their face. Before completing login, the system validates that the face in the Keepic matches the person in front of the device camera.
After entering the email and selecting the Keepic, the user must click Check Face Recognition and Login to start the face recognition process.
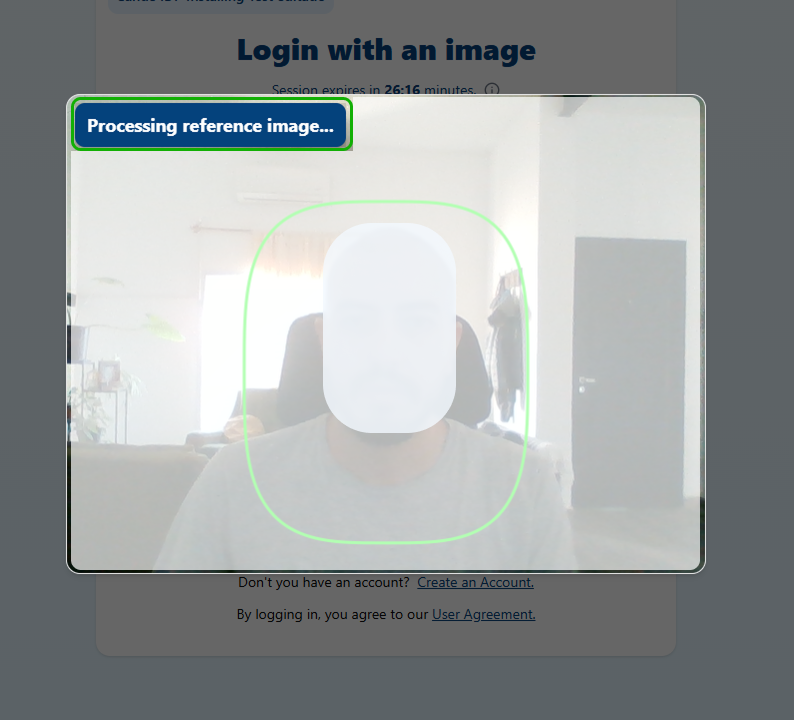
The user must position their face inside the green frame. At the top of the modal, the system shows live feedback as it processes the face recognition.
Some tenants may also require a liveness proof. In that case, the liveness challenge starts immediately after face recognition, and the required gestures are displayed at the top of the modal.
| Face Recognition | Liveness |
|---|---|
 |  |
Alternative Authentication
If the tenant allows logging in with a PIN as an alternative to biometrics, a button is shown that lets the user disable the biometric check.
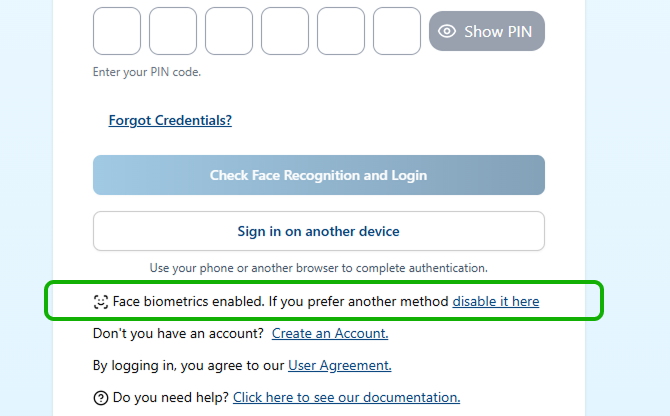
Disabling biometrics skips the face recognition check. If the tenant doesn't have a PIN required at the tenant level, an input is shown asking the user to enter a PIN to complete the login.
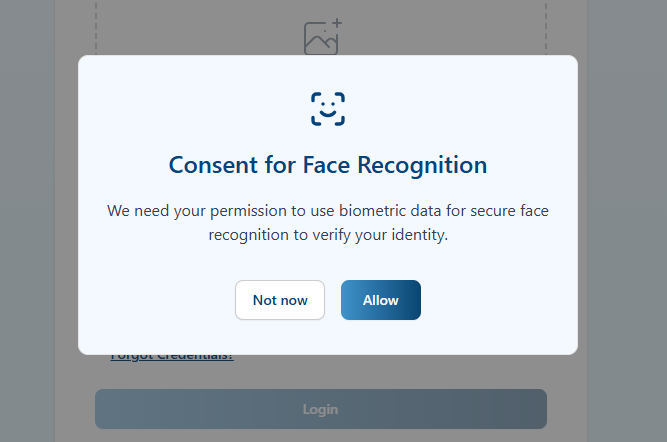
If the user chooses to re-enable the biometric check, consent must be given again, since it was previously assumed by default.
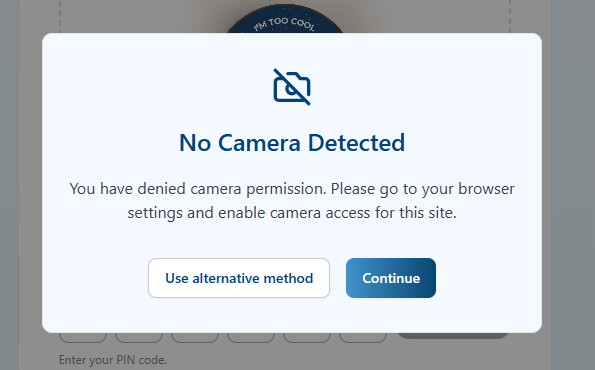
If the browser doesn't have camera permission, or no camera is detected on the device, a modal is shown indicating that the user must log in using the alternative method instead.
External Device Login
Whenever the client has this method enabled, a button is shown on the login screen to access it.
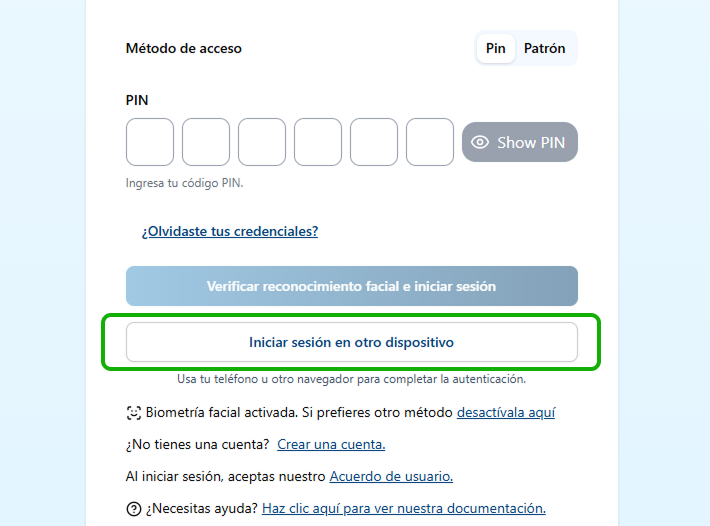
Selecting it opens a screen with the codes needed to complete the login from another device or browser:
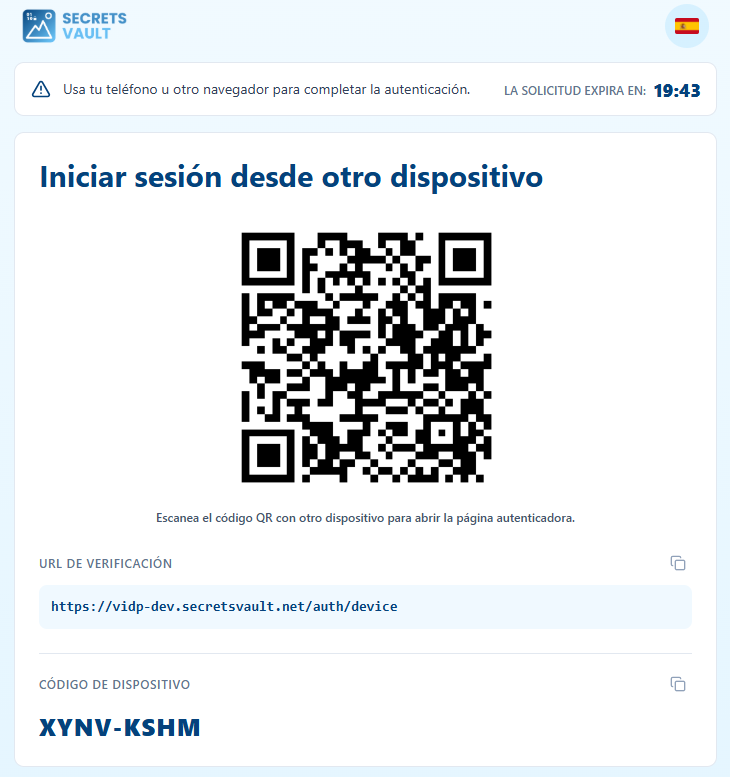
- QR Code: Contains a URL with the login code. Scan it with the device where you want to complete the login to open the login view directly on that device.
- Copy URL: Copies the URL so you can open it in another browser and log in from there.
- Code: The login code itself. If you don't have a camera to scan the QR, or can't copy and paste, you can manually type the URL and enter this code to log in from another device or browser.